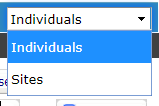
1.1. From the dropdown on the right, choose whether to run the count on Individuals(contacts) or Sites(company count)
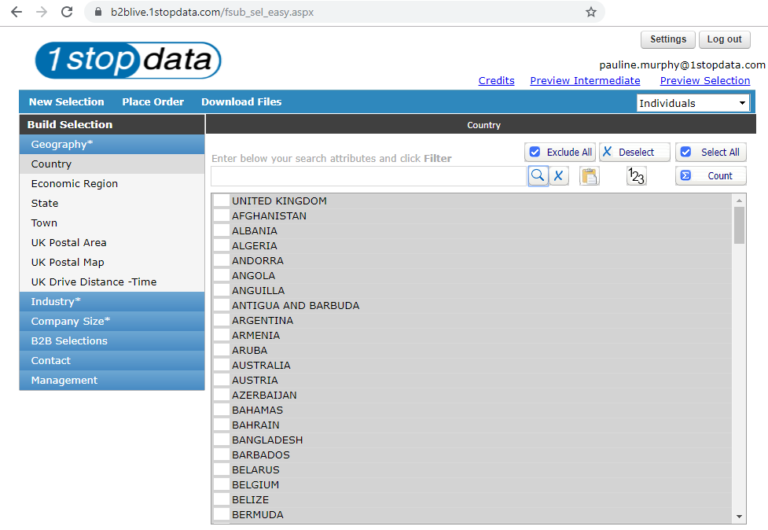
1.2. From the left-hand navigation menu, bring up the required selection categories. They are divided into selection types:
GEOGRAPHY (the below will be OR within the group)
Country
Economic Region (e.g. Europe, Middle East etc)
State (AKA County)
Town
UK Postal Area (Uses first 2 digits of postcode to define area)
UK Postal Map (select areas by clicking on UK map)
UK Drive Distance -Time (can select based on road distance or travel time)
INDUSTRY (the below will be OR within the group)
SIC 2007 2 (industry category based on UKSIC2007 2-digit codes)
SIC 2007 5 (industry category based on UKSIC2007 5-digit codes)
COMPANY SIZE (the below will be OR within the group)
Employee Band
Employee Range (must be in format number dash number e.g. 1-100)
Turnover Band
Turnover Range (must be in format number dash number e.g. 1000000-2000000)
B2B SELECTIONS
Has Tel
On TPS
Has URL see further user guides for details on the below:
URN Upload
URN Upload Results
Company Upload
Company Upload Results
Phone Upload
Phone Upload Results
Email Upload
Email Upload Results
CONTACT
Seniority
Department
Job Function
Job Title
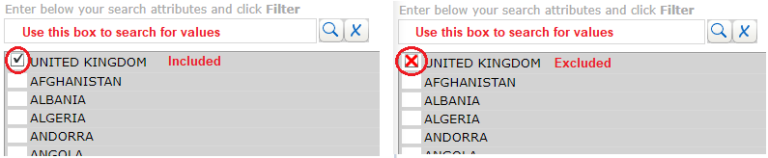
1.3. For each selection, tick the box next to the item to include (with a tick) or click twice to exclude (with a red cross):
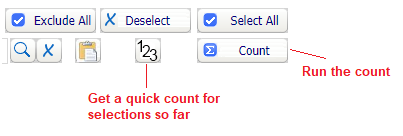
1.4. There are some shortcut buttons to quickly select / deselect or run interim counts. When all selections are made, click Countbutton.
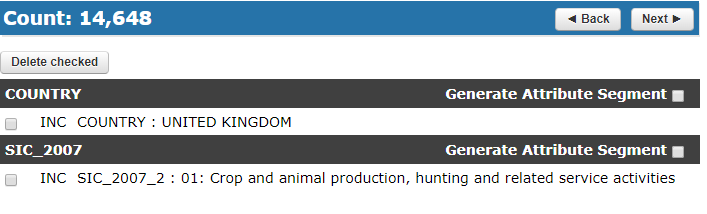
1.5. Click Count and on the next screen you will see the overall volume as well as the list of selections made. Click Next
1.6. On the next screen, save the count by clicking the save button and giving it a name:
2. Generate Report
2.1. Click Place Order tab on top menu.
2.2. To run the count, click on the green Excel box next to the saved count.
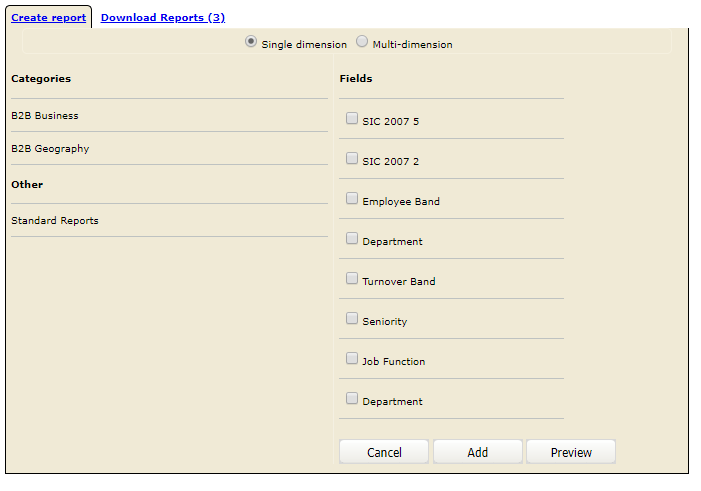
2.3. Choose the elements to be shown in the report:
Select whether the report should be single dimension (a list of values with volumes) or multi-dimension (aka matrix / cross-tab or pivot report).
Use the categories on the left to display different field options for inclusion
Tick the fields to be summarised
Click Add, a pop-up will appear where you should click add & preview
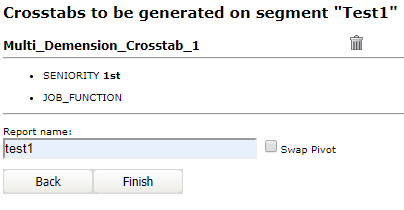
2.4. On the next screen, check the order is as required: the field marked 1st will display as the columns on your report, the other field will be the rows. To reverse this, click swap pivot. Give the report a name and click Finish. You will be sent an email when the report is generated.
2.5. Once the report is generated, once again click on the green Excel button next to the saved count. You will return to the screen above, this time select the Download Reports tab. Click on the required report and it will download to .xlsx
3. Export Data
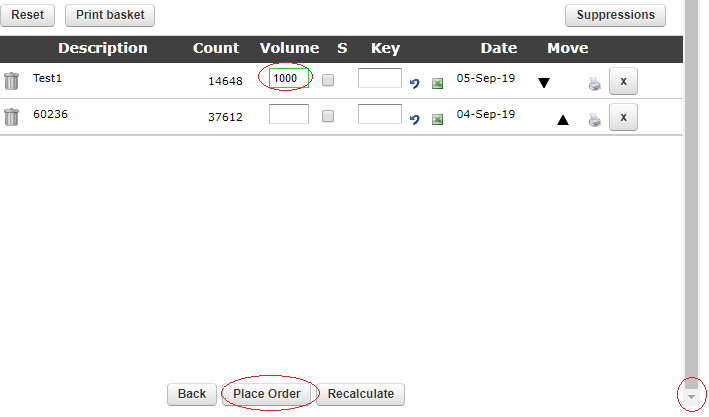
3.1. Click the Place Order tab and find the saved count you wish to extract.
3.2. Enter the number of records to export in the box in ‘Volume’ column and hit “tab” key.
3.3. At the bottom of the screen, click Place Order (if this button isn’t showing, you may need to scroll down)
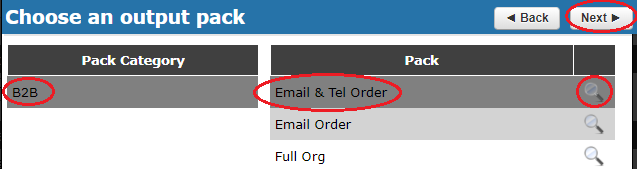
3.4. On the next page, click Select a data output pack and from the pop-up, choose the field set that best fits the order type and click Next. To preview what fields are included with a pack, click the magnifying glass next it.
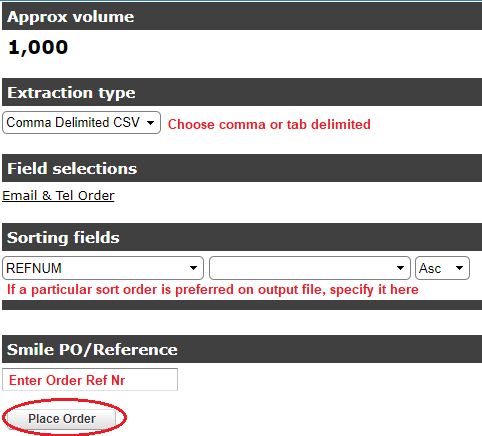
3.5. Fill in required details (as shown in the screenshot on the right) and click Place Order.
3.6. Click to accept terms & conditions and click Finish.
3.7. You will receive an email with a link to download once it’s ready. Previous orders can be accessed at any time under the Download Files tab.
If you have any questions regarding OSCAR, please contact your account manager.
4. Overview Video
This website uses cookies to improve your experience.AcceptRead More
Privacy & Cookies Policy
Privacy Overview
This website uses cookies to improve your experience while you navigate through the website. Out of these, the cookies that are categorized as necessary are stored on your browser as they are essential for the working of basic functionalities of the website. We also use third-party cookies that help us analyze and understand how you use this website. These cookies will be stored in your browser only with your consent. You also have the option to opt-out of these cookies. But opting out of some of these cookies may affect your browsing experience.
Necessary cookies are absolutely essential for the website to function properly. This category only includes cookies that ensures basic functionalities and security features of the website. These cookies do not store any personal information.
Any cookies that may not be particularly necessary for the website to function and is used specifically to collect user personal data via analytics, ads, other embedded contents are termed as non-necessary cookies. It is mandatory to procure user consent prior to running these cookies on your website.